CMS BCDA
CMS provides access to claims data via a FHIR endpoint called the CMS Beneficiary Claims Data API (BCDA). You can read about it here.
This process allows you to transforms data from CMS BCDA into the Tuva Data Model. There are 3 steps:
- Flatten FHIR to CSVs
- Load CSVs into Date Warehouse
- Import and Run dbt Packages
We also created a demo project that leverages the sample CMS BCDA data BCDA demo project.
Instructions
Step 1: Flatten FHIR to CSVs
Create configs for BCDA JSON files
This step is only required if your BCDA files differ in format from the sample BCDA data. Unfortunately there isn't a good way to tell if your data is structured differently until you attempt to run the connector.
- Clone the FHIR_inferno repository
- Delete the config files in
fhir_inferno\configurations\configuration_bcda\config - Copy your JSON into the
fhir_inferno\configurations\configuration_bcda\input_fhirfolder - Open the script
analyzeJson_new.pyinfhir_inferno\helper_scripts - In
analyzeJson_new.py, update the configurations:folder_path- path to your BCDA files (e.g...\configurations\configuration_bcda\input_fhir)keyword- the filename or JSON resource type (e.g.coverage)anchor_path- root path of the JSON (leave blank when executing the script for the first time)ignore_list- paths in JSON to ignore (leave blank when executing the script for the first time)inputFormat- default to ndJSON; no need to update
- Execute the script
py analyzeJson_new.py
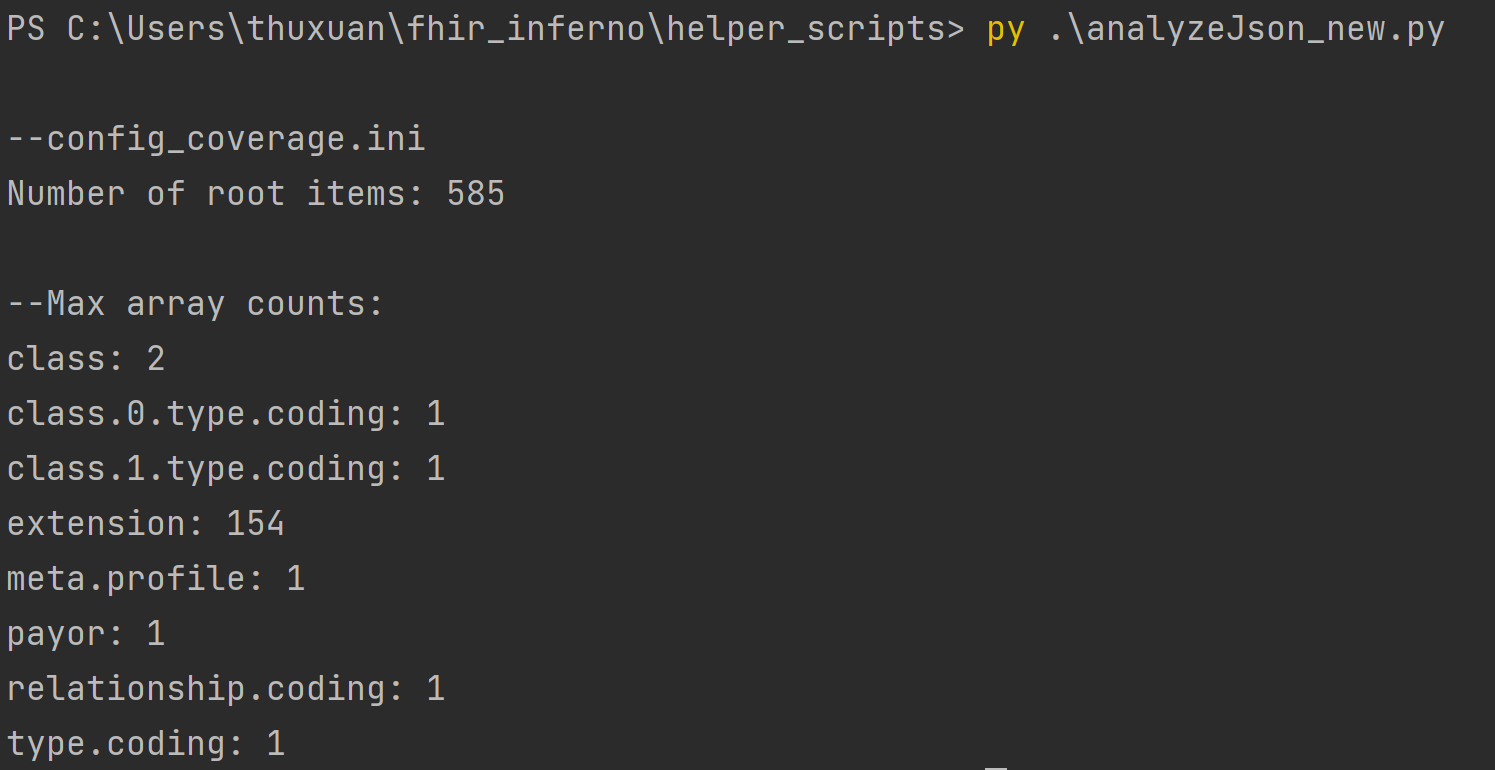
In the terminal, analyzeJson_new.py will output the different keys in the JSON file. The number following the key is
how many arrays are in each key. Since we are flattening the FHIR object, think of the keys as tables and the arrays
as columns. Decide which keys should be broken out into its own table to cut down on the number of columns. The screenshot below depicts the output of the coverage resource. The key extension will be split into its own table with 154 columns.
-
Once you’ve decided which keys you want to split out, update the configuration in
analyzeJson_new.pyand rerun the script for each key.- Update
ignore_pathwith all keys you want as a separate file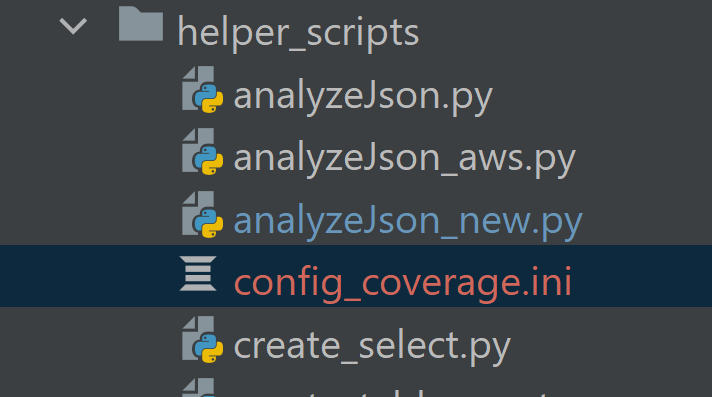
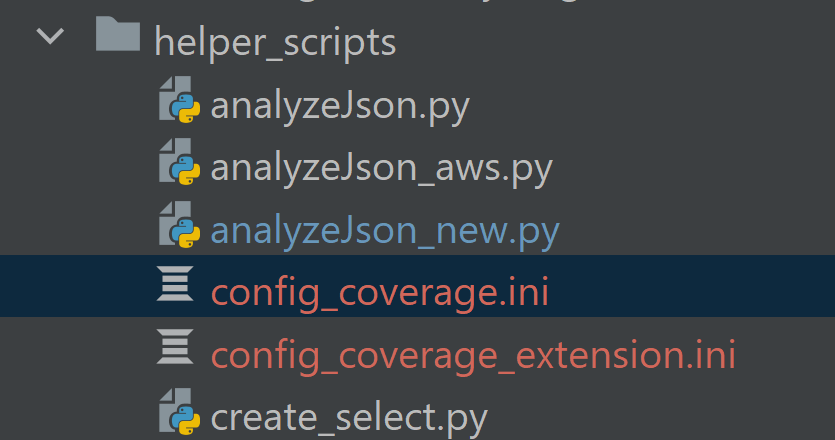
- Rerun anaylzeJson_new.py. A file called config_coverage.ini will be generated in the same directory as
anaylzeJson_new.py. This config file contains the information to parse the coverage resource without the extension key.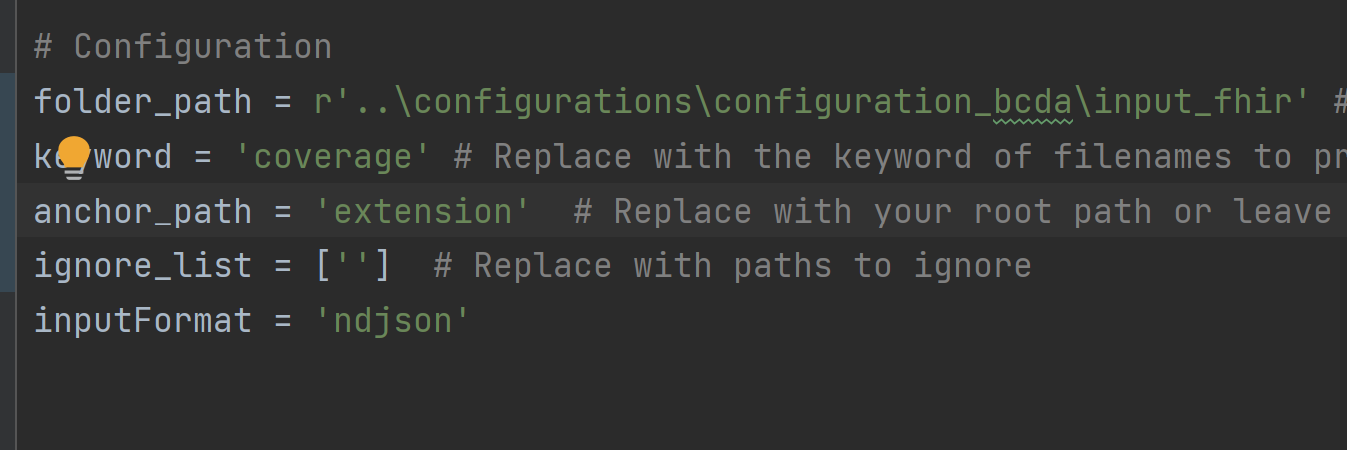
- Move extension from ignore_path to anchor_path. Rerun anaylzeJson_new. Another file called config_coverage_extension.ini
will be generated in the same directory as anaylzeJson_new. This config file contains the information to parse the
coverage resource without the extension key.
- Update
-
Repeat steps 5-7 for each resource in the BCDA data (i.e. patient and explanationofbenefit)
-
Update each config file with a primary key to facilitate JOINs between tables
-
In the BCDA data,
idis the unique identifier for each line. In the main resource, e.g.coverage, moveidto the top of the list of arrays under[Struct].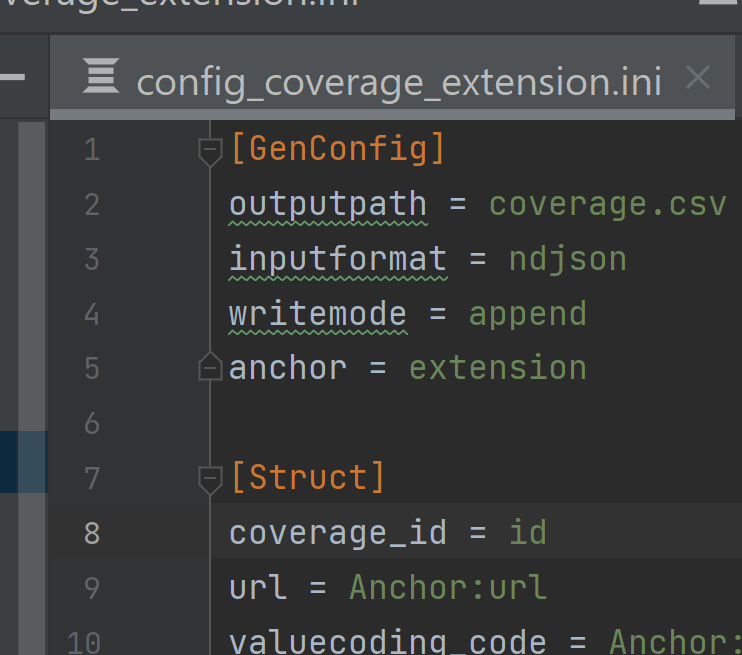
-
In the sub resource, e.g.
coverage_extension, add coverage_id = id to [Struct]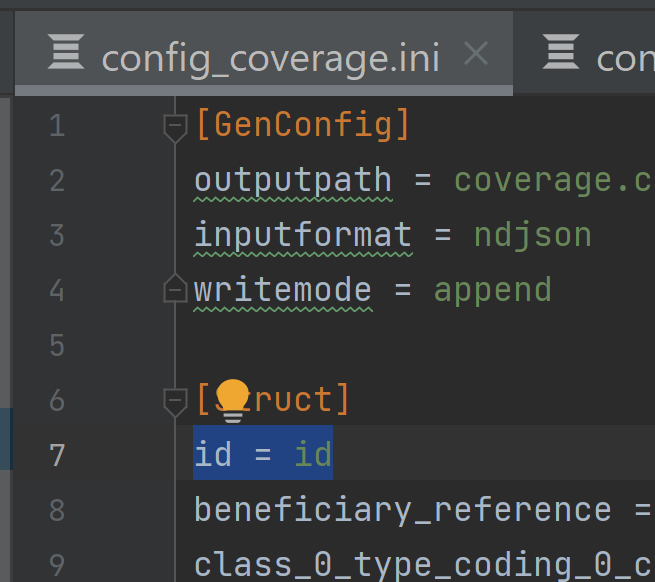
-
Repeat step 9 for each resource
-
-
Copy all config files to
fhir_inferno\configurations\configuration_bcda\config
Parse JSON files to create CSVs
Now that you've generated the configs, which are the instructions for how to parse the JSON, it's time to actually run the parser.
- Move
parseFHIR.pyfromfhir_infernotofhir_inferno\configurations\configuration_bcda - Open
BCDAConnector.pyinfhir_inferno\configurations\configuration_bcda - If following these instructions, the configs in
BCDAConnector.pyshould not have to be updated but can be if using a custom folder.config_dir- the location of the configration .ini filesinput_dir- the location of the JSON filesoutpur_dir- the location the CSVs will be output toconfigs- the name of each resource- the name must match the resource in the .ini files
- Execute the script
py BCDAConnector.py
- Confirm CSVs have been created in the output_dir (e.g.
output_csv)
Step 2: Load CSVs into Data Warehouse
Now you need to load the CSVs into your data warehouse of choice (we'll trust you can take care of that).
Step 3: Import dbt Package
Now you're going to import the bcda_connector dbt package into your dbt project (create a new dbt project if you don't already have one). This package will convert the CSVs into the Tuva Input Layer.
-
Add the bcda_connector to your packages.yml
packages:
  - git: "https://github.com/tuva-health/bcda_connector.git"
revision: main -
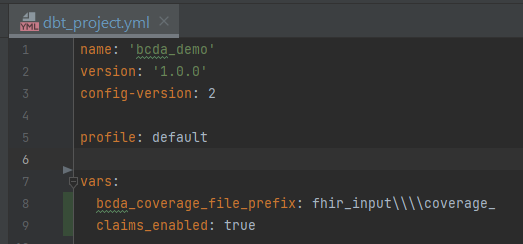
Add the following vars to your
dbt_project.ymlwith the applicable valuesbcda_coverage_file_prefix- a string of text to parse enrollment date- When CMS sends enrollment data, it does not contain an explicit field with the year and month. It is implied
that members present in the monthly coverage file are enrolled. So the date that the file is sent needs to be stored in the database as a discreet field to be used for analytics. This is done by parsing the filename which contains the date of the file. FHIR inferno contains a filename field in every table and below is an example from coverage. The string
fhir_input\\coverage_needs to be removed from to parse out the date. In my dbt_project.yml, my var will bebcda_coverage_file_prefix: fhir_input\\\\coverage_(there are 4 backslashes to escape the)
- When CMS sends enrollment data, it does not contain an explicit field with the year and month. It is implied
that members present in the monthly coverage file are enrolled. So the date that the file is sent needs to be stored in the database as a discreet field to be used for analytics. This is done by parsing the filename which contains the date of the file. FHIR inferno contains a filename field in every table and below is an example from coverage. The string
From here you're ready to import the Tuva package and run dbt build to populate the data model and load all seed files.